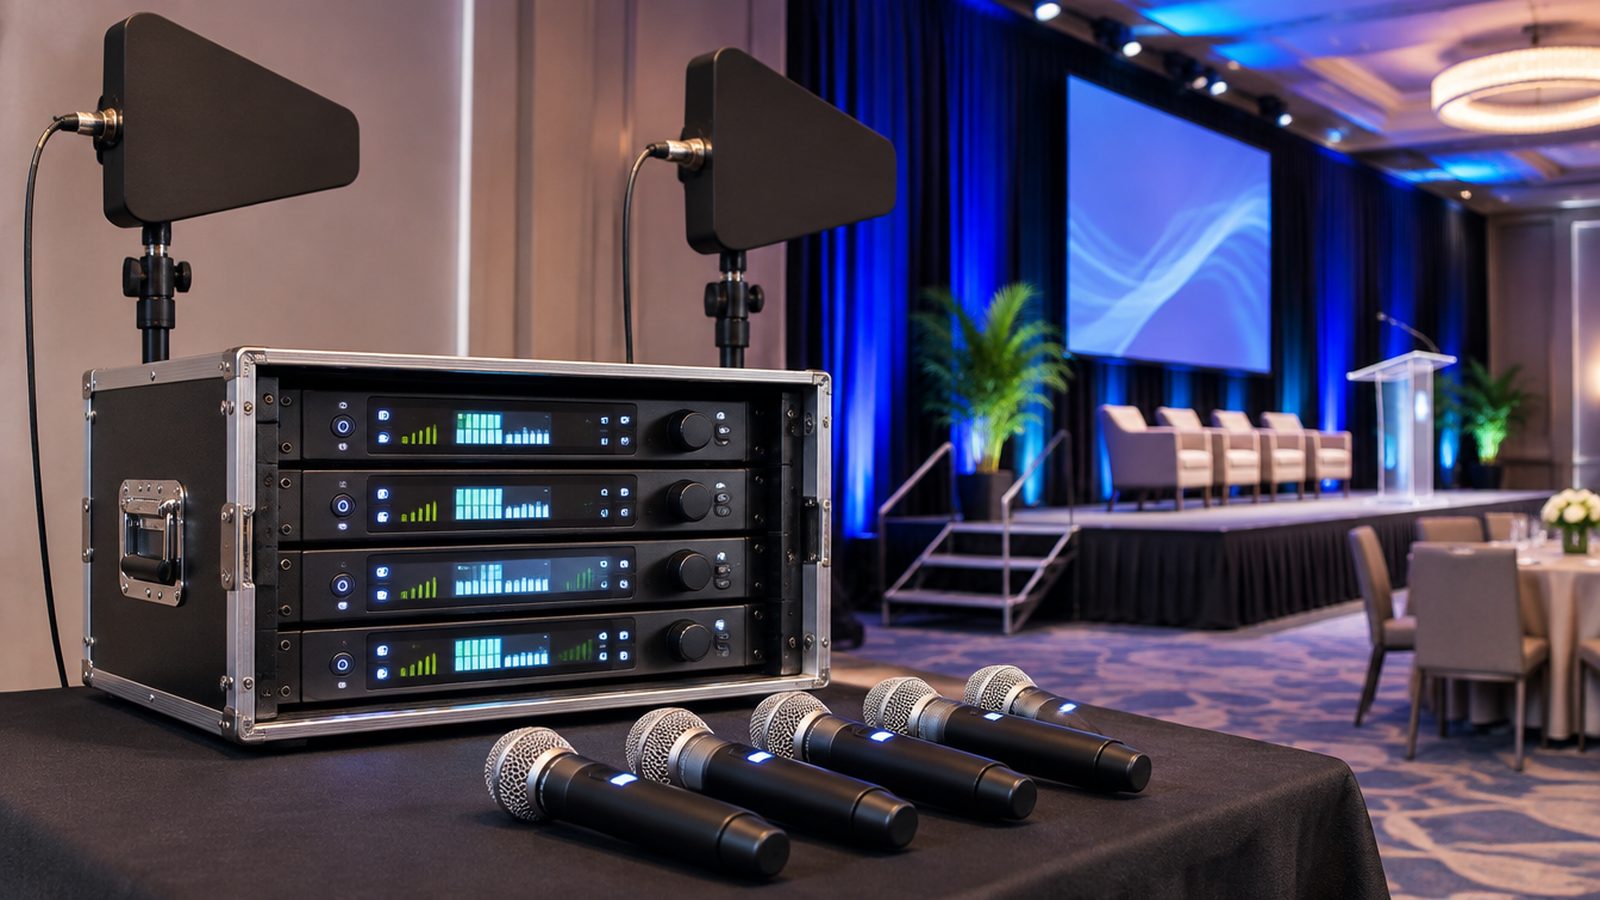
01How wireless works
Transmitter
Handheld (mic and transmitter in one) or bodypack (belt pack with a headset or lapel plugged in).
Receiver
Tuned to the same frequency. Its meters show RF (radio strength) and AF (audio level).
One frequency each
Two transmitters on one frequency cancel each other. Two receivers on one transmitter is fine.
The band
Most professional systems here work in the UHF TV band, 470 to 694 MHz. The 700 and 800 MHz bands now belong to cellular networks. Old kit tuned there must not be used.
2.4 GHz systems
Small digital systems share the air with Wi-Fi. They struggle in a room full of phones. Keep them for small, short-range jobs.
Latency
Digital wireless adds a few milliseconds of delay. It matters when stacking it with in-ears. Check the manual.
One transmitter, one frequency, one receiver channel. Label all three with the same number.
02Scan first, then coordinate
The air in every venue is different. TV transmitters, the band next door, the venue's own wireless and other suppliers all use the same space. You find the gaps on site, on the day.
- Transmitters off. Switch all your own transmitters off before scanning.
- Scan with the receiver's scan function. It finds the quietest frequencies in the room.
- Use one group. Pick all your channels from the same group or use the system's own coordination. Frequencies inside a group are chosen so they do not interfere with each other.
- Sync each transmitter to its receiver (infrared sync or the menu).
- Label mic, transmitter and receiver channel with the same number.
- All on together. Switch every transmitter on at once and watch every receiver. A problem often only shows when all are live.
- Ask the neighbours. If another supplier or the venue runs wireless, swap frequency lists.
Never type in frequencies by hand that "look far apart". Several transmitters together create extra signals between them. The group presets are designed to avoid this.
Scan with yours off. Check with all of yours on.
03Antennas and line of sight
- Line of sight. If the antenna cannot see the mic, expect dropouts. Bodies block radio. A full room is worse than an empty one.
- High. Antennas above head height, on a stand at the side of the stage or at front of house.
- V shape. Two whip antennas at about 90 degrees to each other. Diversity receivers pick the better one moment by moment.
- Out of the rack. A receiver buried in a metal rack with its antennas inside is nearly deaf. Use front-mount kits or remote antennas.
- Directional (paddle) antennas point at the stage. Use them for long distances and busy rooms.
- Short, proper antenna cable. Long thin cable loses signal. Use the low-loss cable the maker lists.
- Away from noise: LED walls, video processors, Wi-Fi routers, switch-mode power supplies. At least a couple of metres.
- Not too close either. A transmitter touching the receiver antenna overloads it.
Put the antenna where you would stand to watch the speaker.
04Batteries and the change plan
Low battery is the most common cause of a dead mic, and the easiest to prevent.
Try it: battery change plan
Take the battery life from the transmitter's manual for the battery type you use.
- Fresh for every show. New alkalines or fully charged rechargeables, in every transmitter, every time.
- Good brand alkalines or the maker's own rechargeable pack. Cheap cells sag early and the meter lies.
- Do not mix old and new, or two brands, in one transmitter.
- Change at a break, not when the meter shows one bar.
- Used batteries go in the used box, never back in the fresh box (Module 14).
- Spare transmitter on, muted, at the side of the stage, on a tested frequency.
A battery costs a few rand. A dead mic in the CEO's speech costs the client.
05Fitting headsets, lapels and packs

Headset
Capsule at the corner of the mouth, a finger width from the skin, not in front of the lips. Adjust the boom, not the head. Loudest and most reliable choice for presenters.
Lapel
Centre of the chest, about a hand span below the chin. Not under a jacket, a scarf or a lanyard. Quieter than a headset and feeds back sooner.
Handheld
Held close, pointed at the mouth, hand below the grille. Tell the speaker: "Hold it like an ice cream."
The pack
On the belt or waistband at the back. Antenna hanging free, not folded or coiled, not against bare sweaty skin. A small loop of cable taped as strain relief.
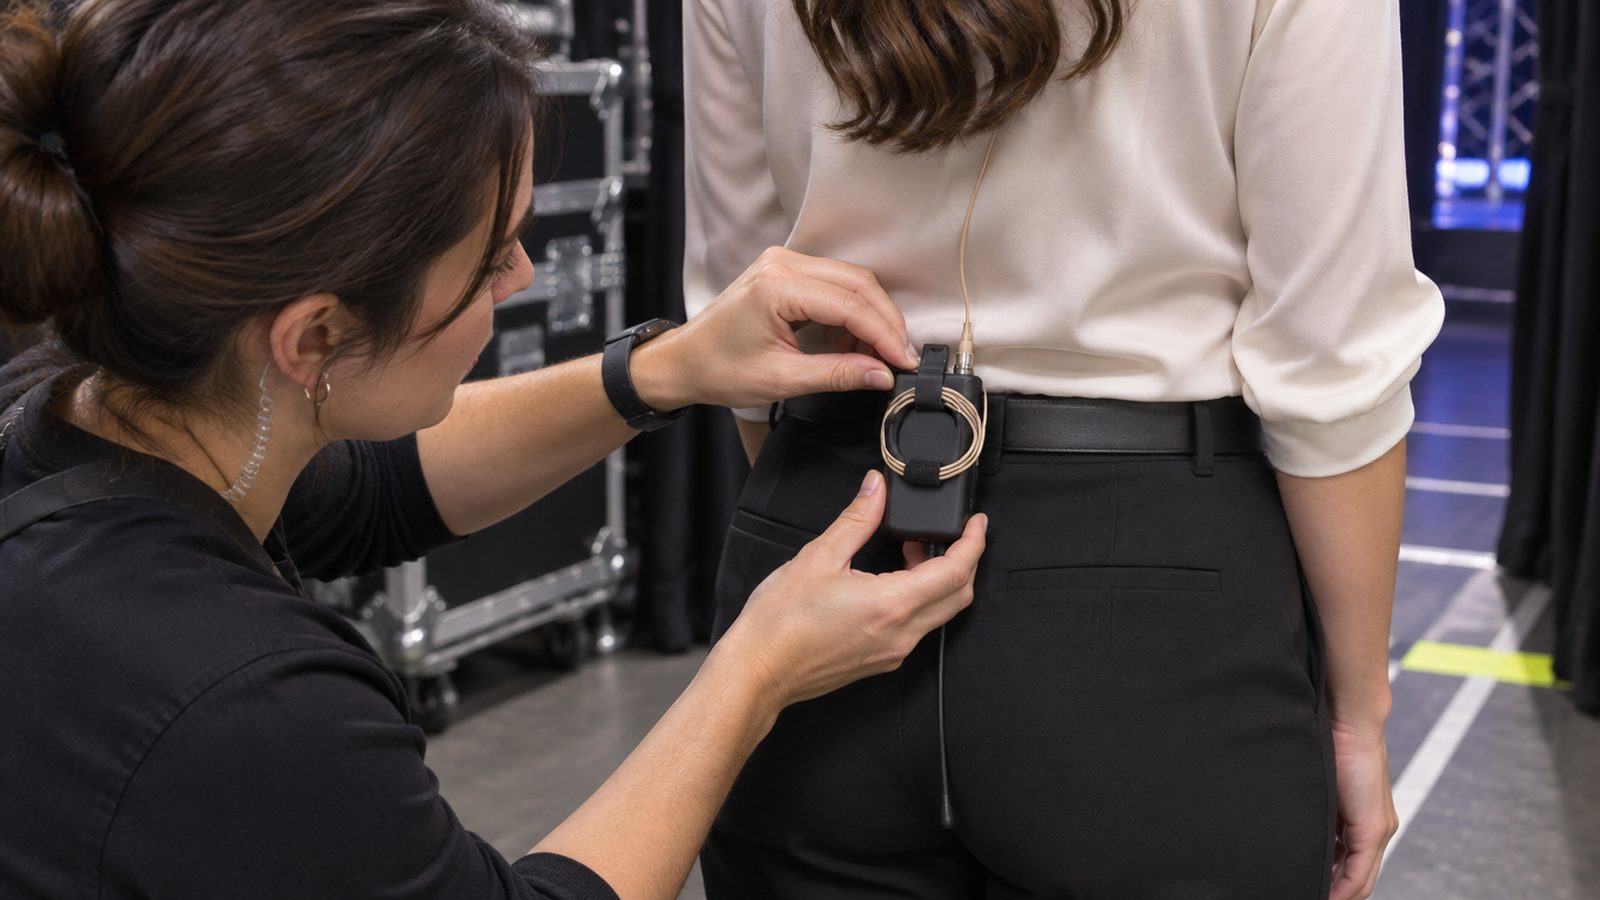
- Ask before you touch. "May I clip this to your belt?" Offer to let them thread the cable themselves.
- Set the transmitter gain with the person speaking at show level. The AF meter should peak near the top without hitting the red.
- Lock the pack so buttons cannot be pressed in a pocket.
- Mute at the desk, not on the pack. Tell speakers the pack stays on.
- Remind them the mic is live in the toilet and in the passage.
Fit the mic early, on the real person, in the real clothes.
06Dropouts: five causes, five fixes
| You see or hear | Most likely | Fix |
|---|---|---|
| RF meter falls when the person turns or walks away | Distance or body blocking the path | Move antennas higher and closer, use paddle antennas |
| Clicks and swishes with good RF on only one channel | Interference on that frequency | Rescan, move that channel, re-sync |
| Problems only when all mics are on | Frequencies clashing with each other | Use one group or the system coordination, re-sync all |
| Signal fades over the evening | Battery | Change it. Follow the change plan. |
| Crackle when the person moves | Cable or connector at the pack, or a loose capsule | Swap the headset or lapel, check the plug is locked |
| Noise near the screen or the video desk | LED wall or processor noise | Move antennas away, rescan |
Read the receiver before you touch anything. RF meter low means a radio problem. RF meter full but audio bad means a mic, cable or gain problem.
RF meter first. It tells you which half of the system to look at.
07In-ear monitors

In-ear monitors (IEMs) are the wireless link in reverse. The transmitter is in the rack. The performer wears the receiver and hears their mix in earphones instead of a wedge speaker.
- Separate the bands. IEM transmitters are strong. Keep their frequencies and their antennas well away from the mic receivers' antennas.
- Start low. Volume at zero when the earphones go in, then bring it up. A loud pop into a sealed ear does real damage.
- Limiter on. Most packs have one. Leave it on.
- The seal matters. The right size tip gives bass and blocks stage noise. A poor seal makes people turn up.
- Both ears in. One ear out and the other turned up is how hearing gets damaged.
- Add ambience. A mic pointed at the audience, fed quietly into the mix, stops the performer feeling cut off.
- "More me" first. Each performer mostly wants their own voice or instrument, then the rest underneath.
- Hygiene. Earphones are personal. Wipe shared ones with the right wipes and change the tips.
Never unplug or power-cycle anything in an in-ear chain while performers are wearing them. Tell them, wait for ears out, then do it.
Ears in at zero. Bring it up slowly. Limiter on.
08The walk test
The last check before doors. One person walks, one person watches the receivers.
- All transmitters on, all at once
The way they will be in the show, including in-ears and the spare. - Walk every position
Lectern, stage edges, the aisle, the awards table, backstage. Talk the whole way. - Watch the RF meters
Note any spot where a meter dips or a channel clicks. - Turn your back
Stand with your body between the pack and the antennas at the far point. - Fix and repeat
Move antennas or change frequency, then walk it again. - Fresh batteries in
After the test, before doors. - Frequencies written down
On the patch sheet, with the mic numbers and who wears what. - Spare ready
On, muted, labelled, at the side of the stage.
Walk it with every mic on. An empty-room test with one mic proves nothing.
09Check what you learnt
Ten questions. Pick an answer for each, then press Mark my answers. You need 8 out of 10 to pass this module. You can retry as often as you like.
Ten questions. Circle one answer for each. The answer key is on the last page. Pass mark: 8 out of 10.
Answer key
Photos: scene photographs are AI-generated illustrations and do not show B&W Productions equipment or events. This module is crew training, not a substitute for the manufacturer's manual, the venue's rules or the event safety officer's instructions.