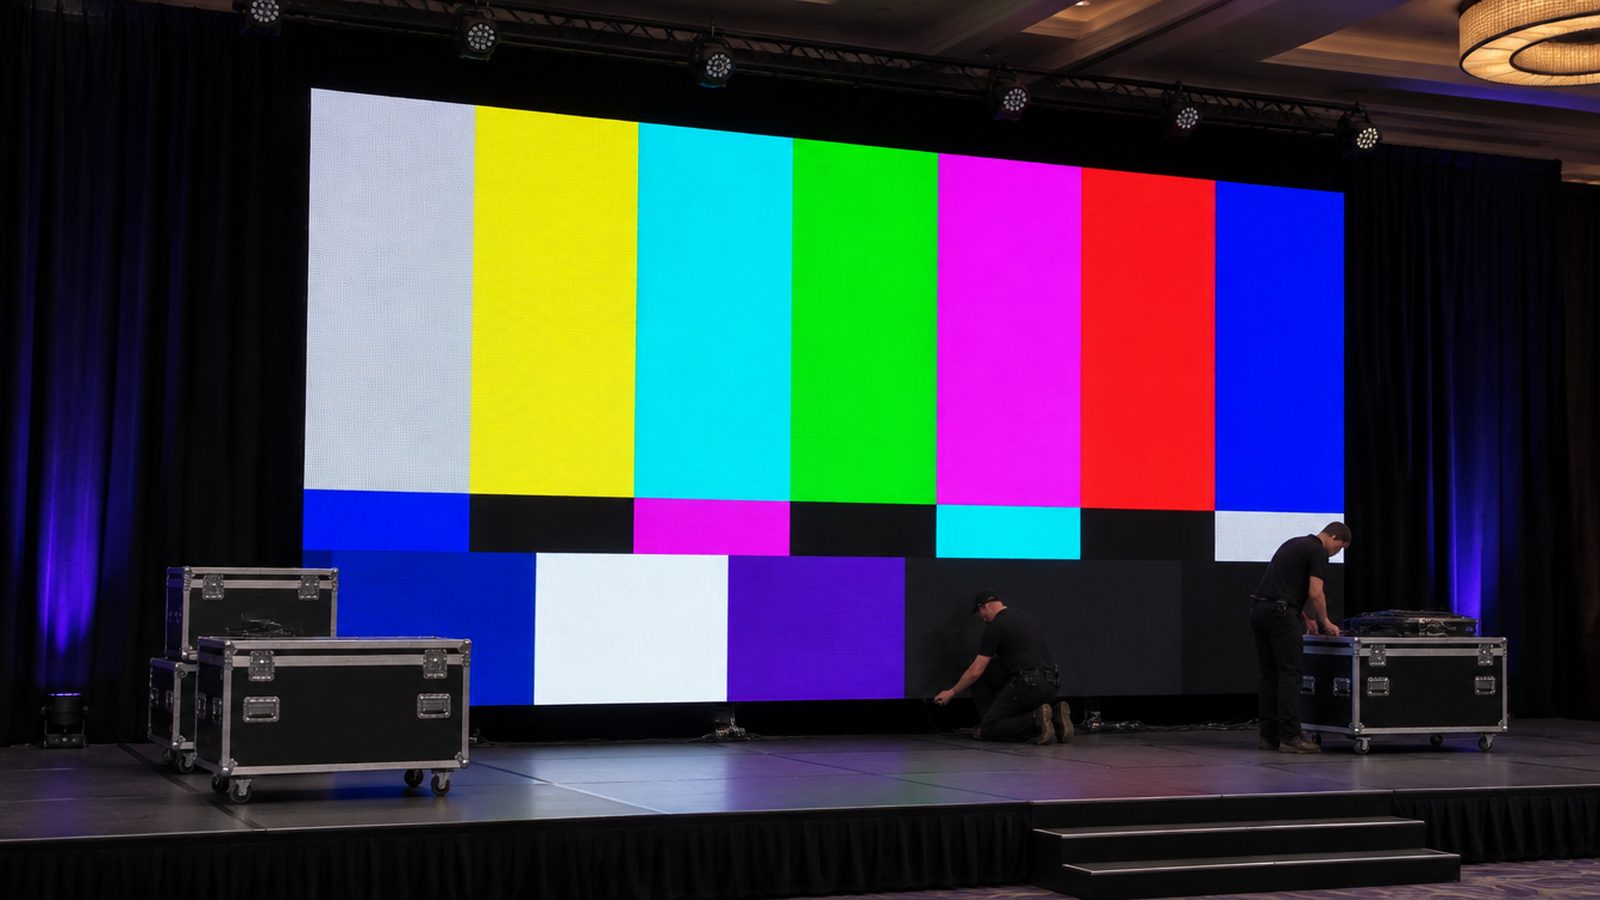
01Panels, pixels and pitch
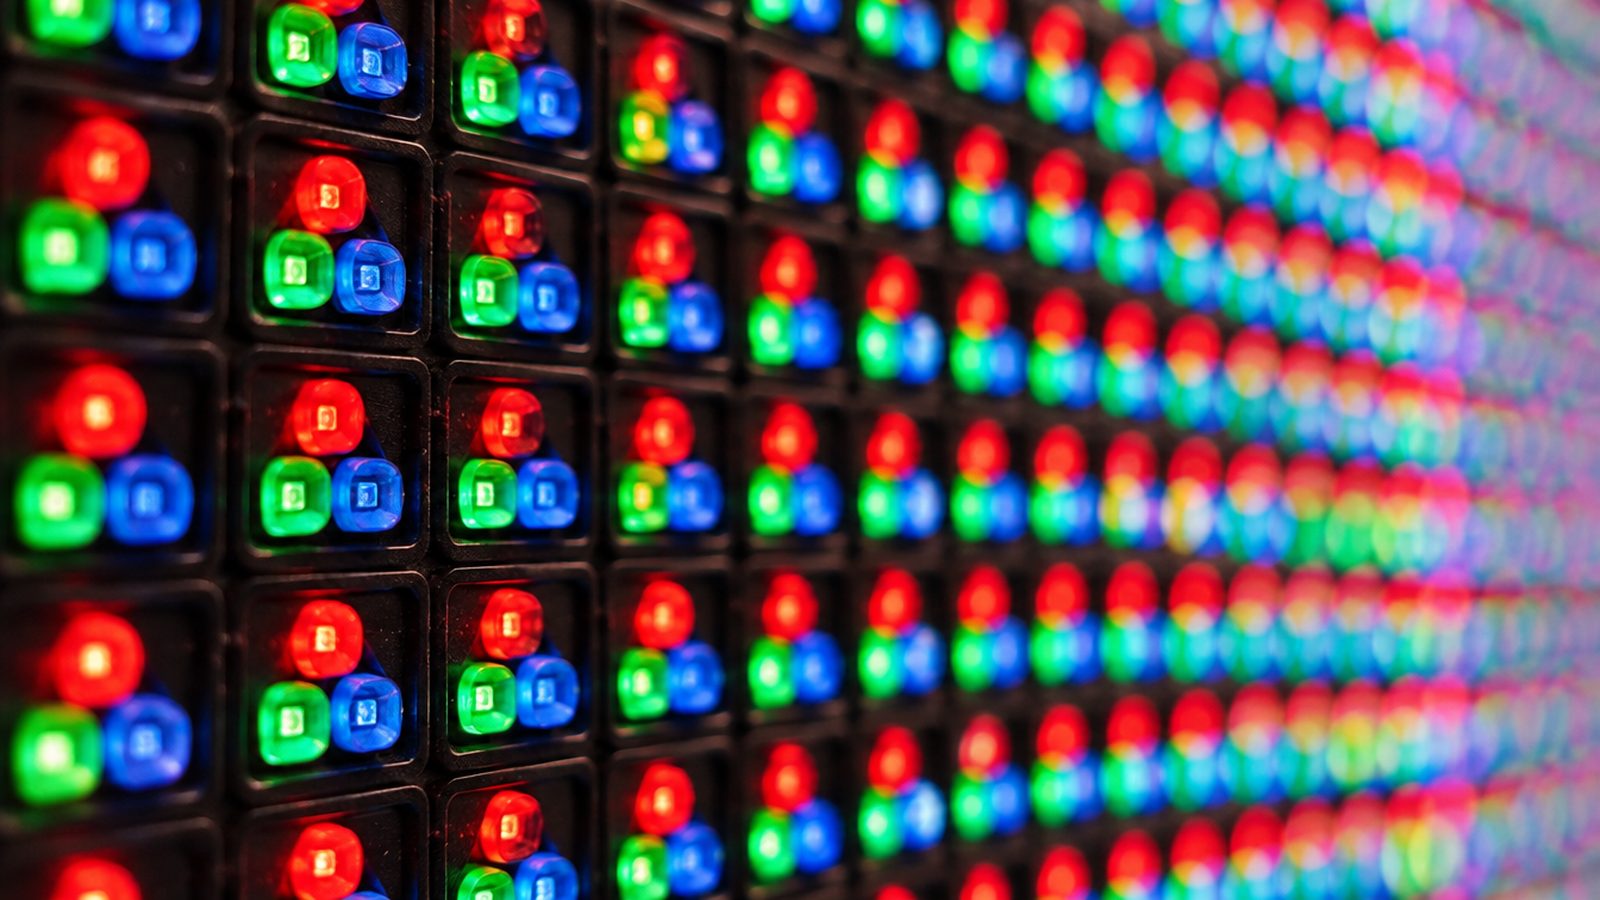
Panel (cabinet)
The building block. Most rental panels are 500 mm square, or 500 by 1000 mm. They lock together into a wall.
Pixel pitch
The gap between pixel centres in millimetres. P2.6 means 2.6 mm. Smaller pitch means more pixels and a sharper picture up close.
Resolution
Width in mm divided by pitch. A 500 mm panel at P3.9 is 128 pixels wide. At P2.6 it is 192.
Viewing distance
Rule of thumb: the closest viewer should be about one metre away for every millimetre of pitch. P3.9 wants about 4 m.
Brightness
Measured in nits. Indoor walls run a fraction of what they can do. Outdoor walls are far brighter to beat the sun.
Indoor or outdoor
Outdoor panels are sealed against rain and dust (IP rated). Indoor panels are not. One shower kills them.
Try it: size the wall
Panel wattage comes from the panel's spec sheet. Use the maximum figure for power planning.
Pitch in millimetres is roughly the closest seat in metres.
02From laptop to light
- Source. A laptop, media server or camera switcher sends a normal video signal (HDMI or SDI).
- LED processor. Scales the picture to the wall's pixel size and sends it out on network-style data cables.
- Data runs. Each processor output feeds a chain of panels. A port can only carry so many pixels (about 650,000 on a typical processor; check yours). Big walls need several ports.
- Mapping. In the processor software, someone draws how the panels are cabled so each one shows the right piece. Wrong map, scrambled picture.
- Backup. A second data cable into the far end of each chain lets the wall survive one bad cable. Worth it on a show that matters.
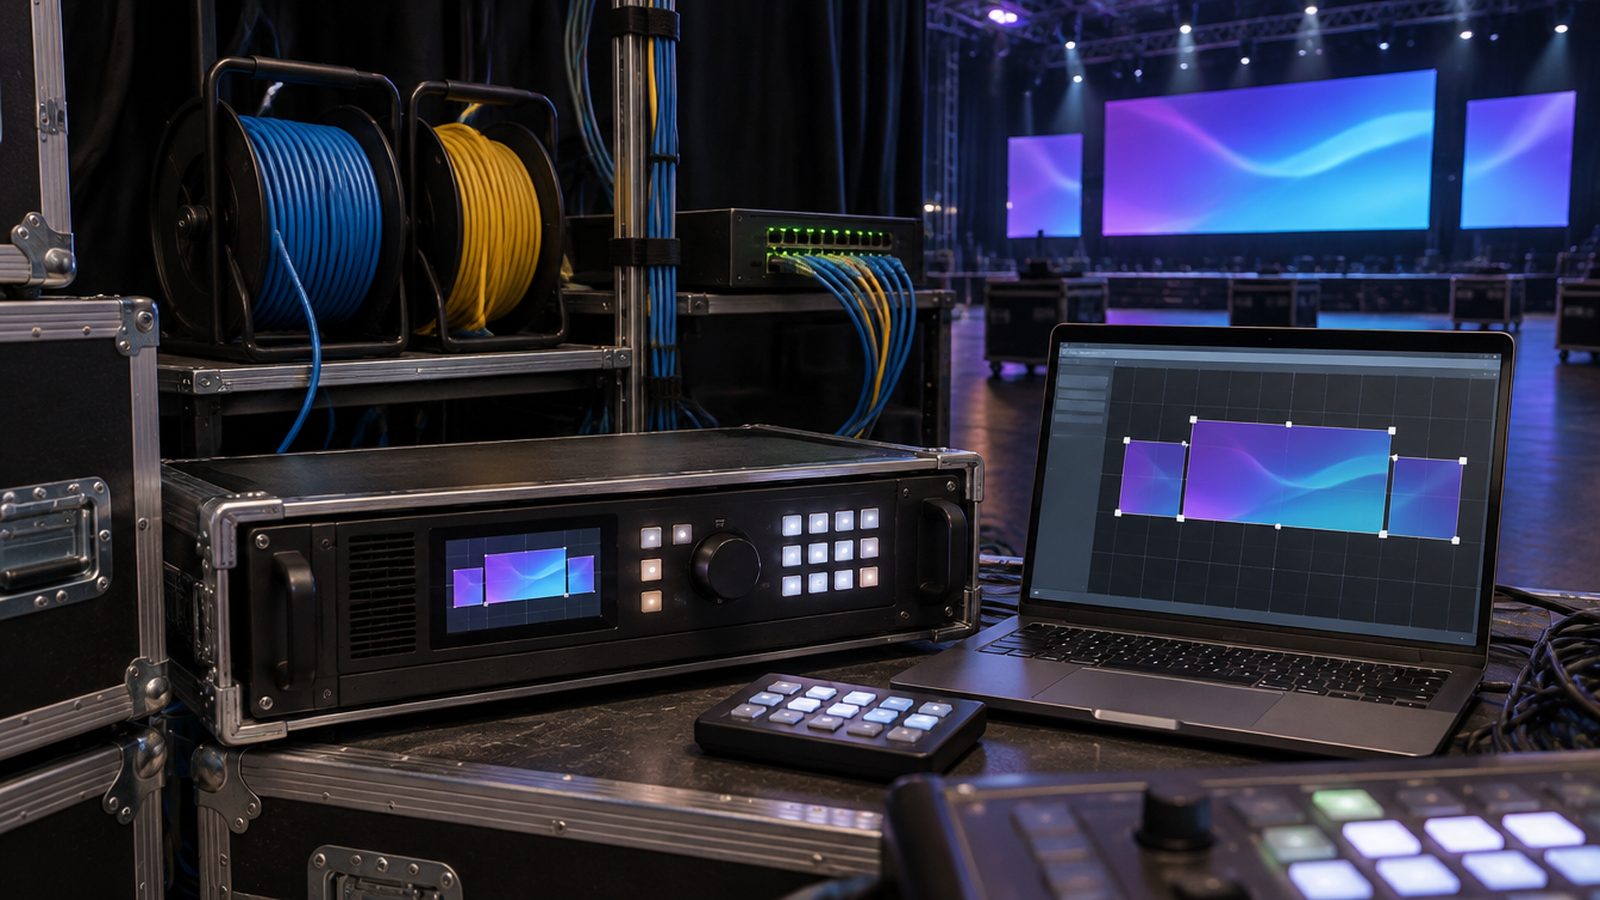
Cable the data exactly as the map says. The map and the cables are one thing.
03Powering a wall
An LED wall draws most when it shows full white at full brightness, and far less on normal content. You plan for the maximum.
- Panels link power to each other. The spec sheet says how many panels may hang off one feed. Never more.
- Count the circuits. Total maximum watts, divided by 230, gives the amps (Module 8). Spread the feeds across phases.
- Own supply. Keep the wall on its own circuits, away from sound, so its power supplies do not put noise on the audio.
- Power on in order: wall power first, then the processor, then the source. Off in reverse.
- Brightness down. Indoors, a wall at full brightness blinds the front row, washes out the lighting and flares on camera. Start around a quarter to a third and adjust by eye.
- Earth. Every feed properly earthed through the distro. Crew plug in. Electricians wire in.
Plan power for full white. Run the wall far below it.
04Building and handling panels
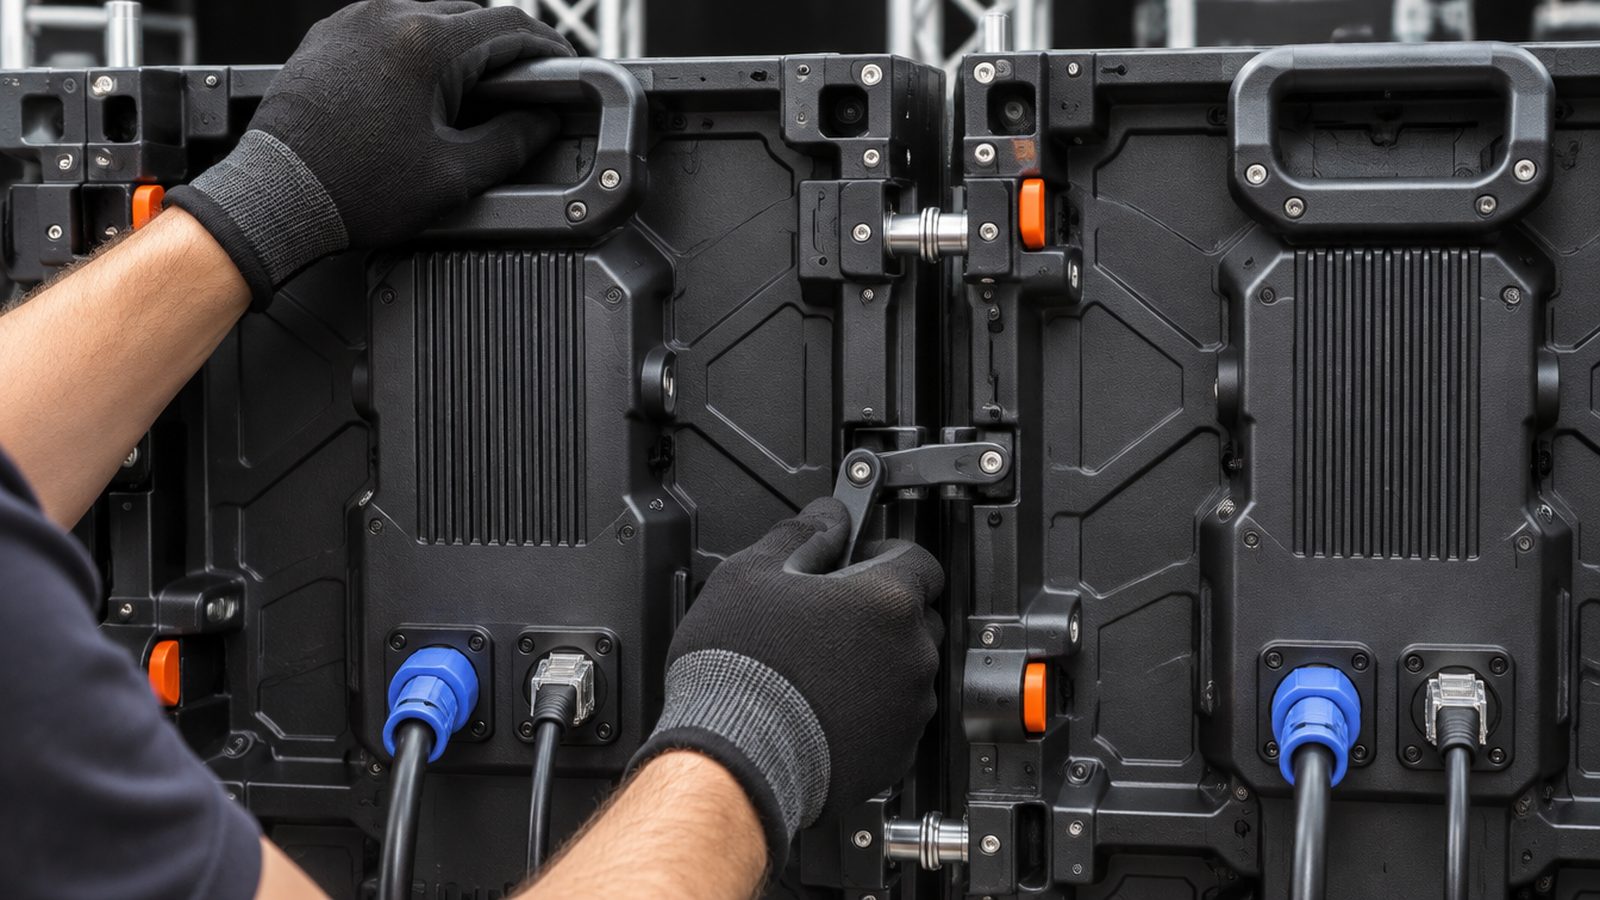
A wall is a structure. Ground-stacked walls stand on a base with rear bracing and ballast, to the supplier's plan. Flown walls hang from header bars and are rigged by a competent rigger (Module 15).
- Level the first row. The base bar is levelled with its feet before any panel goes on. A crooked first row gets worse with every row above.
- Two people per panel on anything above the first row.
- Carry by the handles, face away from your body and belt buckle. Never rest a panel on its face or its bottom edge pixels.
- Lock every latch, side and top, as each panel goes in.
- Follow the arrows. Panels have an up arrow and a data direction. All the same way.
- Brace and ballast as the plan says before going higher. Outdoors the wind plan applies: a wall is a sail.
- Cable as you go: power and data links on each row before the next row hides them.
The corner and edge LEDs break off with a light knock. Edge protectors stay on until the panel is in the wall, and go back on before it comes out.
Handles only. Face never touches anything.
05Getting the picture right
A wall is rarely a standard screen shape. Eight panels by five at P3.9 is 1024 by 640 pixels. Content made for a TV will be stretched, cropped or soft unless someone plans for it.
- Tell the content person the pixel size and the shape as early as possible. That is the single most useful thing crew can do.
- Fill or fit. The processor can scale a 16:9 picture to fit with black bars, or fill and crop the edges. Decide with the client, not during the show.
- Big and bold. Thin fonts, fine lines and small logos shimmer on a wall. Large text, strong contrast.
- Dark backgrounds look better and are kinder to the lighting than full white slides.
- Test patterns first. Colour bars and a grid show a wrong map, a dead pixel or a colour mismatch before the client's video does.
- Cameras. A wall can show dark bands or ripples (moiré) on camera. Fixes: higher refresh panels, matching the camera shutter, moving the camera back or softening focus on the wall.
- Black is off. A wall showing black still glows slightly. For a true blackout, the processor has a blackout or freeze button. Know where it is.
Give the designer the wall's pixel size before they open the software.
06Finding a fault fast
| You see | Most likely | Check |
|---|---|---|
| One panel black | No power to it, or its data in is out | Power link into that panel, then the data cable into it |
| One panel and every panel after it black | Data cable out of the last good panel | Reseat or swap that one cable |
| A small square inside a panel wrong or dead | One module in the panel | Swap the module or the panel |
| Picture in the wrong place or scrambled | Mapping does not match the cabling | Compare the map with the real data path |
| Whole wall black | Processor, source or blackout button | Is the processor getting input? Is blackout on? |
| Whole wall flickers or drops out | Data cable or port over its pixel limit, or a bad first cable | Swap the first cable, split the run across two ports |
| Colours differ panel to panel | Panels from different batches or wrong calibration | Group same batches together, tell the supplier |
Work from the last good panel. The fault sits between the last panel that works and the first one that does not.
Spare data cable, spare power link and a spare panel live next to the wall, not in the truck.
07Strike and transport
- Power off in order
Source, processor, then wall power. Wait for it to go dark. - Clear below and in front
Nobody under a wall coming down. - Top row first
Two people per panel. Unlock, lift by the handles. - Edge protectors on
Before the panel goes into its case. - Cases as the supplier packs them
Faces protected, never face to bare face, never flat under weight. - Cables counted and coiled
Data and power links back in their trunk (Module 12). - Faults tagged
A panel with a dead module gets a red tag with its position in the wall. - Dry before closing
Outdoor walls are wiped and dried. A wet case is a dead panel next week.
When we hire in a wall, the supplier's technician leads the build and the strike. You work to their instructions on their kit.
A panel is safest in the wall or in its case. The floor in between is where they die.
08Check what you learnt
Ten questions. Pick an answer for each, then press Mark my answers. You need 8 out of 10 to pass this module. You can retry as often as you like.
Ten questions. Circle one answer for each. The answer key is on the last page. Pass mark: 8 out of 10.
Answer key
Photos: scene photographs are AI-generated illustrations and do not show B&W Productions equipment or events. This module is crew training, not a substitute for the manufacturer's manual, the venue's rules or the event safety officer's instructions.